How to Make Homemade Pasta From Scratch: The Ultimate Guide
July 28, 2026 17 min read 3,363 words
Transform simple ingredients into exquisite fresh pasta with our expert, step-by-step instructions.
Start Rolling Today!
The Essential Ingredients and Equipment for Perfect Pasta Dough
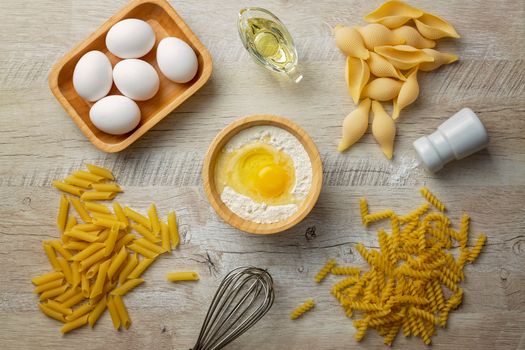 Photo: Marcelo Verfe / Pexels
Embarking on the journey of how to make homemade pasta from scratch begins with understanding the foundational elements: your ingredients and your tools. While the process may seem intimidating to a novice, the beauty of pasta lies in its simplicity, requiring just a handful of staple items. The quality of these components, however, plays a paramount role in the final texture and flavor of your pasta. Let's delve into what you'll need.
First and foremost, flour. The traditional choice for Italian fresh pasta is '00' flour, an extra-fine, low-protein wheat flour that yields a silky, delicate texture. However, don't despair if '00' flour isn't readily available; a good quality all-purpose flour can certainly be used, though it might result in a slightly chewier pasta. Some recipes also call for semolina flour, particularly for pasta meant to be more rustic or for specific shapes like orecchiette, as its coarser texture provides more bite and helps prevent sticking. For a richer, more vibrant pasta, whole wheat flour can be incorporated, though it often requires more hydration and can be denser. Experimentation with different flours is part of the fun in pasta making, allowing you to tailor the experience to your palate and dish.
Next, eggs. Fresh, large eggs are the lifeblood of most fresh pasta recipes, providing both moisture and richness. The yolk contributes to the pasta's golden hue and tender texture, while the egg white helps bind the dough and adds elasticity. The ratio of eggs to flour is critical and can vary slightly depending on the flour's absorption rate and the desired dough consistency. Generally, one large egg per 100 grams (about 3/4 cup) of flour is a good starting point. Some recipes might call for extra yolks for an exceptionally rich dough, or a combination of whole eggs and water to achieve a firmer, more robust pasta, especially if you're making shapes that need to hold up to hearty sauces. Always ensure your eggs are at room temperature, as they incorporate more easily into the flour.
Beyond flour and eggs, some recipes may include a touch of olive oil, which can add a subtle flavor and make the dough more pliable. A pinch of salt is also common, enhancing the overall taste of the pasta itself. While these are optional, they can elevate your pasta from good to truly exceptional. Water is sometimes used to adjust the dough's hydration, particularly when using harder flours or in humid environments.
Regarding equipment, you don't need a professional kitchen setup to master how to make homemade pasta from scratch. A large, clean work surface – a wooden board or a clean countertop – is essential for kneading. A bench scraper is invaluable for gathering dough and cleaning your surface. For rolling, a good quality rolling pin is sufficient, though a hand-crank pasta machine or a stand mixer attachment will make the process much faster and more consistent. A pasta machine allows you to achieve uniformly thin sheets, which is crucial for delicate pasta. Finally, a sharp knife or a pasta wheel (fluted or straight) will be needed for cutting your pasta into desired shapes. Drying racks, or simply a clean, floured surface, will be necessary to prevent your freshly cut pasta from sticking together before cooking. Having these basic tools ready will streamline your pasta-making process and set you up for success. Understanding these foundational elements is your first step towards crafting exquisite, homemade pasta that will impress and delight.
Explore different pasta shapes to see how these ingredients can be transformed.
Mastering the Art of Kneading and Resting Pasta Dough
 Photo: ricardo rojas / Pexels
Once you've gathered your ingredients, the real magic of how to make homemade pasta from scratch begins with the kneading process. This seemingly simple act is, in fact, the most crucial step in developing the gluten structure that gives pasta its characteristic chewiness and elasticity. Without proper kneading, your pasta will be brittle, difficult to roll, and lack the desired texture. Think of kneading as a workout for your dough; the more you work it, the stronger and more pliable it becomes.
To begin, create a well in the center of your mound of flour on a clean work surface. Crack your eggs directly into this well. Using a fork, gently whisk the eggs, gradually incorporating small amounts of flour from the inner rim of the well. Continue this motion, slowly drawing more flour into the liquid until a shaggy, cohesive dough begins to form. At this stage, your hands will get messy, but embrace it – it's part of the authentic pasta-making experience. Once the dough is too stiff to work with a fork, use your hands to bring it all together, scraping any remaining flour and egg residue from your work surface with a bench scraper.
Now, the kneading truly begins. Push the dough away from you with the heels of your hands, then fold it back towards you, rotate it a quarter turn, and repeat. This push-fold-rotate motion is key to developing the gluten. You'll notice the dough initially feels sticky and uneven. As you continue to knead, typically for 7-10 minutes, you'll feel a remarkable transformation. The dough will become progressively smoother, more elastic, and less sticky. It should feel supple and resilient, like a firm rubber ball. A good test for doneness is the 'windowpane test': tear off a small piece of dough and gently stretch it. If you can stretch it thin enough to see light through it without it tearing, your gluten is well-developed.
Over-kneading is rare when making pasta by hand, but it's important not to under-knead. If the dough feels tough and resists rolling, it likely needs more kneading. Conversely, if it's too soft and sticky, you might need to incorporate a little more flour, a teaspoon at a time, until the desired consistency is achieved. The environment can also play a role; on humid days, you might need slightly more flour.
After the vigorous workout of kneading, the dough needs to rest. This step is just as critical as kneading, though often overlooked. Wrap your kneaded dough tightly in plastic wrap to prevent it from drying out, and let it rest at room temperature for a minimum of 30 minutes, but ideally for an hour. This resting period allows the gluten strands, which were tightened during kneading, to relax. A relaxed dough is much easier to roll thinly and evenly, reducing the effort required and preventing the dough from snapping back. It also allows the flour to fully hydrate, resulting in a more tender and pliable pasta. Think of it as letting the dough take a deep breath before its final transformation. Without proper resting, you'll find yourself fighting the dough as you try to roll it, leading to thicker, less consistent pasta sheets. This patience will be rewarded with a superior texture and a much more enjoyable rolling experience, bringing you closer to mastering how to make homemade pasta from scratch.
Rolling, Shaping, and Cooking Your Freshly Made Pasta
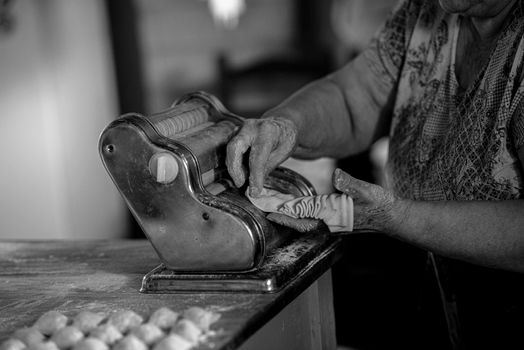 Photo: Natalia Olivera / Pexels
With your perfectly kneaded and rested dough ready, you're now at the exciting stage of rolling and shaping, the true artistic expression in how to make homemade pasta from scratch. This is where your efforts in preparation truly pay off, as a well-rested dough will yield to your will, stretching into beautiful, translucent sheets. Whether you're using a pasta machine or a rolling pin, the goal is consistent thinness, which is key for even cooking and a delightful texture.
If using a pasta machine (manual or attachment), divide your dough into manageable portions, usually quarters or eighths, depending on the size of your machine and work surface. Keep the unused portions covered with plastic wrap to prevent them from drying out. Lightly flour your first piece of dough and flatten it slightly with your hands or a rolling pin. Set your pasta machine to its widest setting and pass the dough through. Fold the dough into thirds, rotate it, and pass it through the widest setting again. Repeat this folding and passing 2-3 times; this helps to square off the dough and further develop its elasticity. Now, without folding, gradually decrease the thickness setting, passing the dough through each setting once or twice, until you reach your desired thickness. For most shapes like fettuccine or tagliatelle, setting 6 or 7 on a standard machine is ideal (out of 9 or 10 settings). For ravioli or very delicate pasta, you might go even thinner. Ensure each sheet is lightly floured as you roll to prevent sticking.
For those who prefer the traditional, hands-on approach with a rolling pin, this step requires a bit more elbow grease and practice. Lightly flour your work surface and rolling pin. Start by flattening a portion of dough with your hands, then begin rolling from the center outwards, rotating the dough frequently to ensure an even thickness. Lift and turn the dough occasionally, dusting with flour if it starts to stick. The goal is to roll it as thin as possible, aiming for a transparency that allows you to see your hand through it. This takes patience and perseverance but yields a truly artisanal result.
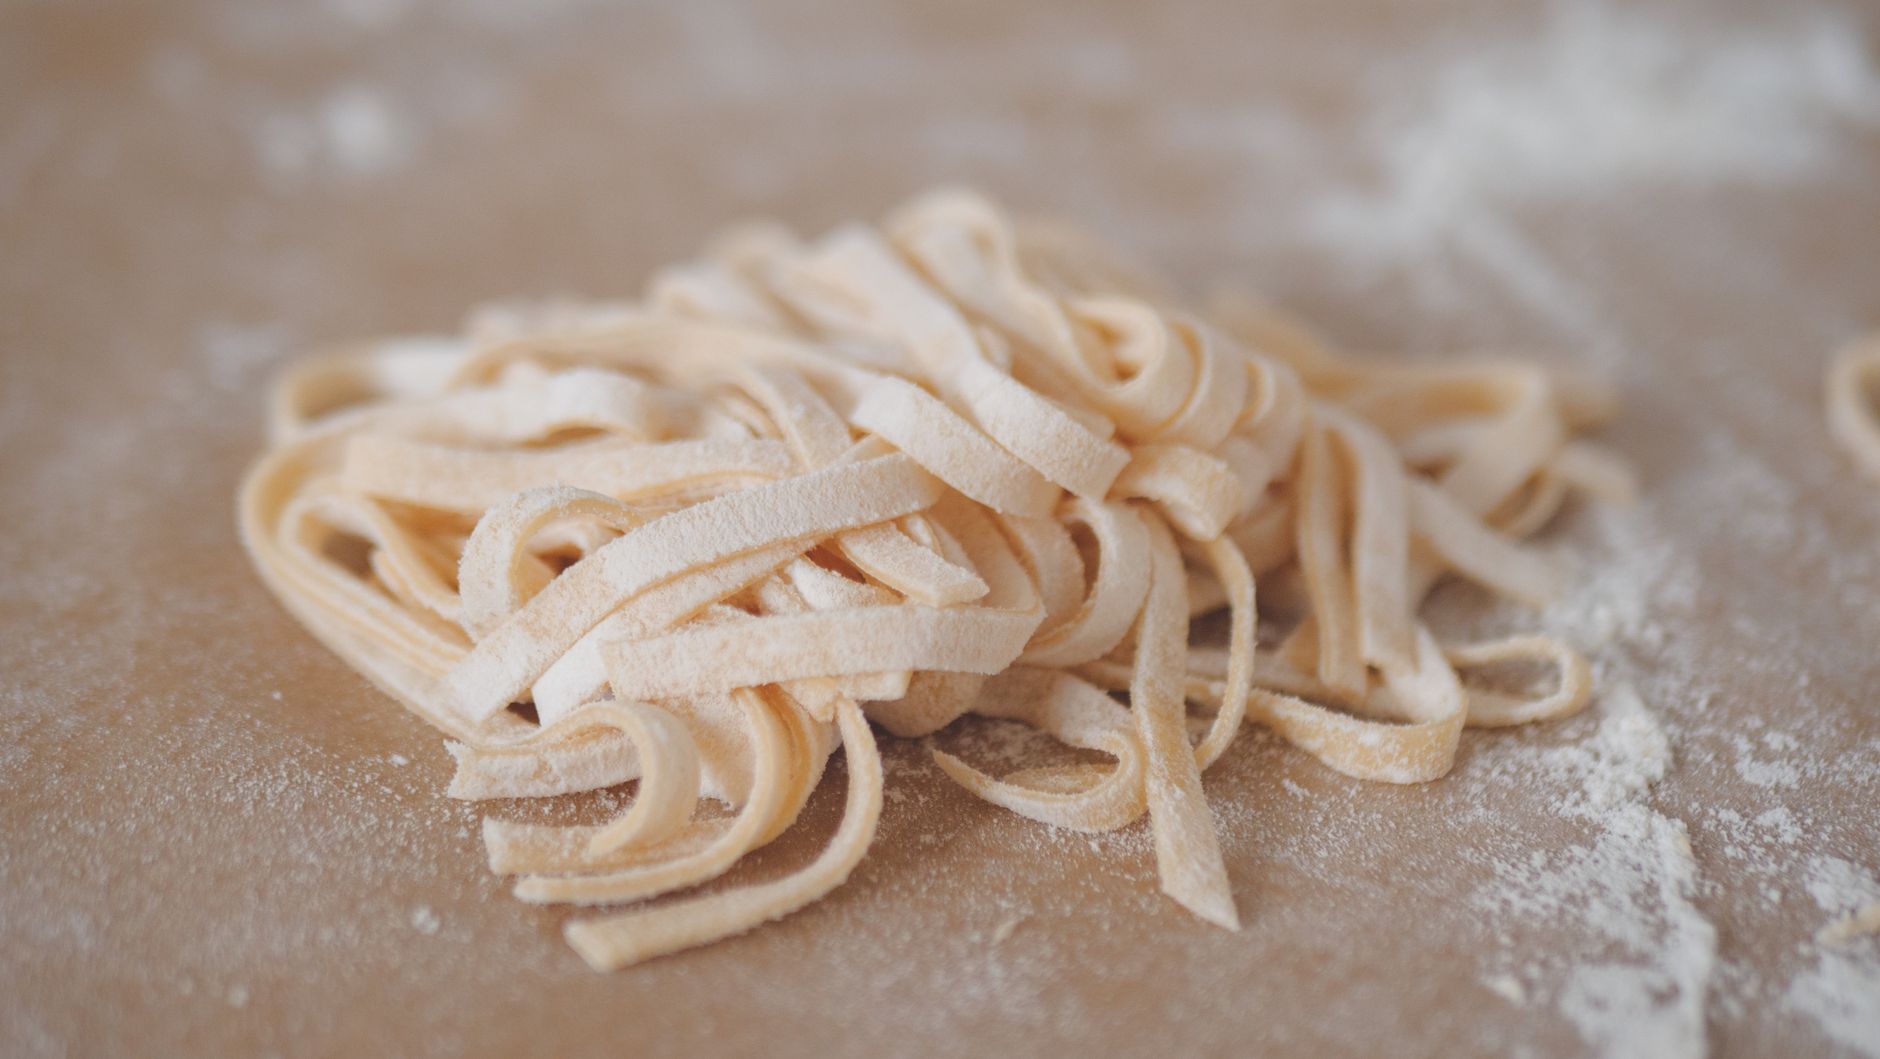
Once you have your thin sheets of pasta, it's time to cut them into shapes. For long strands like fettuccine, tagliatelle, or pappardelle, you can use the cutting attachments on your pasta machine. If cutting by hand, lightly flour the pasta sheet, then gently roll it up into a loose cylinder (like a scroll). Using a sharp knife, cut across the cylinder to create strands of your desired width. Unroll them immediately and toss with a little semolina flour to prevent sticking. For filled pasta like ravioli or tortellini, you'll need to cut squares or circles and then fill and seal them. For more intricate shapes, specialized cutters or even just a sharp knife and your creativity can be employed.
Discover the perfect sauce pairings for your chosen pasta shape.
Finally, cooking your fresh homemade pasta is a quick and rewarding process. Bring a large pot of generously salted water to a rolling boil. Fresh pasta cooks much faster than dried pasta, often in just 2-4 minutes, depending on its thickness and shape. Gently add the pasta to the boiling water, stirring immediately to prevent sticking. Cook until al dente, meaning it's tender but still has a slight bite. Drain the pasta, reserving some of the cooking water, and immediately toss with your favorite sauce. The starchy pasta water can be added to your sauce to help it emulsify and cling better to the pasta. Serve immediately and savor the unparalleled taste and texture of truly homemade pasta.
Troubleshooting and Advanced Tips for Homemade Pasta Success
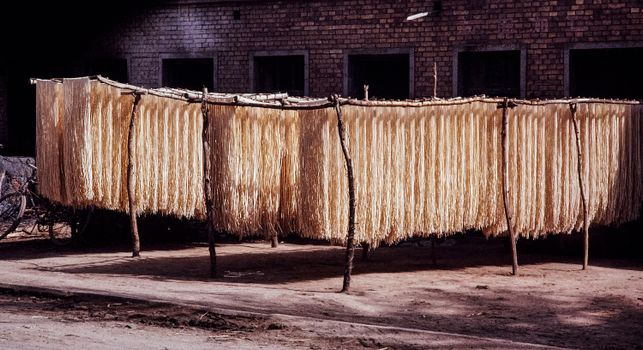 Photo: pierre matile / Pexels
Even with the best intentions and a solid recipe, making homemade pasta from scratch can sometimes present challenges. Knowing how to troubleshoot common issues and employing advanced techniques can elevate your pasta-making game from good to truly exceptional. Here are some key tips and solutions to ensure your pasta journey is consistently rewarding.
**Common Troubleshooting Scenarios:**
* **Dough is too sticky:** This is a common issue, often due to too much moisture or insufficient kneading. Gradually add small amounts of flour (a teaspoon at a time) while kneading until the dough reaches the desired smooth, elastic, and non-sticky consistency. Humidity in your kitchen can also contribute, so adjust flour as needed.
* **Dough is too dry/crumbly:** If your dough won't come together or cracks easily, it's lacking moisture. Add a small amount of water (a teaspoon at a time) or a few drops of olive oil, kneading well after each addition, until the dough is pliable and cohesive.
* **Dough tears when rolling:** This usually indicates either under-kneading (gluten not developed enough) or insufficient resting time (gluten still too tight). Knead for a few more minutes, or let the dough rest longer, ideally an additional 30 minutes, to allow the gluten to relax.
* **Pasta sticks together after cutting:** This happens when pasta isn't properly floured or dried before cooking. Ensure you liberally dust cut pasta with semolina flour or fine cornmeal and gently toss. For long strands, hang them on a drying rack or loosely coil them on a floured sheet. For filled pasta, place on a semolina-dusted tray and cover lightly.
* **Pasta is tough or rubbery:** Over-kneading is rarely the culprit by hand, but it can happen with machine kneading. More often, it's due to too much flour, or perhaps using a high-protein bread flour instead of '00' or all-purpose. Ensure your pasta is rolled thinly enough; thick pasta will be tougher.
**Advanced Tips for Elevating Your Pasta:**
* **Vary Your Flours:** While '00' is classic, experiment with a blend of '00' and semolina for a slightly firmer, chewier pasta, or incorporate a small amount of rye or whole wheat for unique flavor profiles and textures. Each flour brings its own characteristics.
* **Enrich Your Dough:** For an exceptionally rich and tender pasta, use only egg yolks instead of whole eggs. This creates a deeply colored, luxurious pasta perfect for delicate sauces or filled pasta like ravioli. Adjust the liquid content with a splash of water if needed.
* **Flavor Infusions:** Infuse your pasta dough with flavors! Add finely chopped herbs (like parsley or basil), a pinch of saffron for color and aroma, or a tablespoon of pureed spinach or beet for vibrant natural colors and subtle earthy notes. Just remember that wet additions will require a slight adjustment to your flour-to-liquid ratio.
* **Proper Drying and Storage:** For immediate use, a short drying time (15-30 minutes) on a floured surface or rack is sufficient to prevent sticking. If you plan to store fresh pasta, it needs to be thoroughly dried. Thin pasta can dry completely in a few hours, while thicker shapes might take a day or two. Dried pasta can be stored in an airtight container for several weeks. Fresh pasta can also be frozen; arrange cut pasta in a single layer on a floured baking sheet, freeze until solid, then transfer to freezer bags for up to a month.
* **Sauce Harmony:** The beauty of homemade pasta is its ability to perfectly absorb and complement sauces. Match lighter, more delicate pasta (like egg-yolk tagliolini) with subtle butter or cream sauces, and heartier, thicker pasta (like semolina orecchiette) with robust meat or vegetable ragus. The rougher texture of fresh pasta allows sauces to cling beautifully, enhancing every bite.
* **Embrace Imperfection:** Remember, homemade pasta doesn't have to be perfectly uniform. The slight irregularities are part of its charm and proof of its artisanal origins. Enjoy the process and the delicious results! Mastering how to make homemade pasta from scratch is a journey, and each batch teaches you something new.